By clicking on “Accept all cookies”, you consent to the storage of cookies on your device and the associated processing of your personal data by Sushi Labs and our partners to improve website navigation, analyse website usage and conduct surveys. You can revoke your consent at any time via the “Manage cookie preferences” button.
For further information on our data processing and cookies, please visit our and our .
Welcome to our guide on Sushi Smart Pools! If you want to optimize your liquidity allocation and maximize your earnings as a Liquidity Provider (LP), you're in the right place. Sushi Smart Pools enhance trading efficiency by concentrating liquidity within custom price ranges, providing deeper liquidity around the current price, and boosting your fee earnings. Check out how it works in details here.
Let's dive in now!
Go to www.sushi.com/pool.
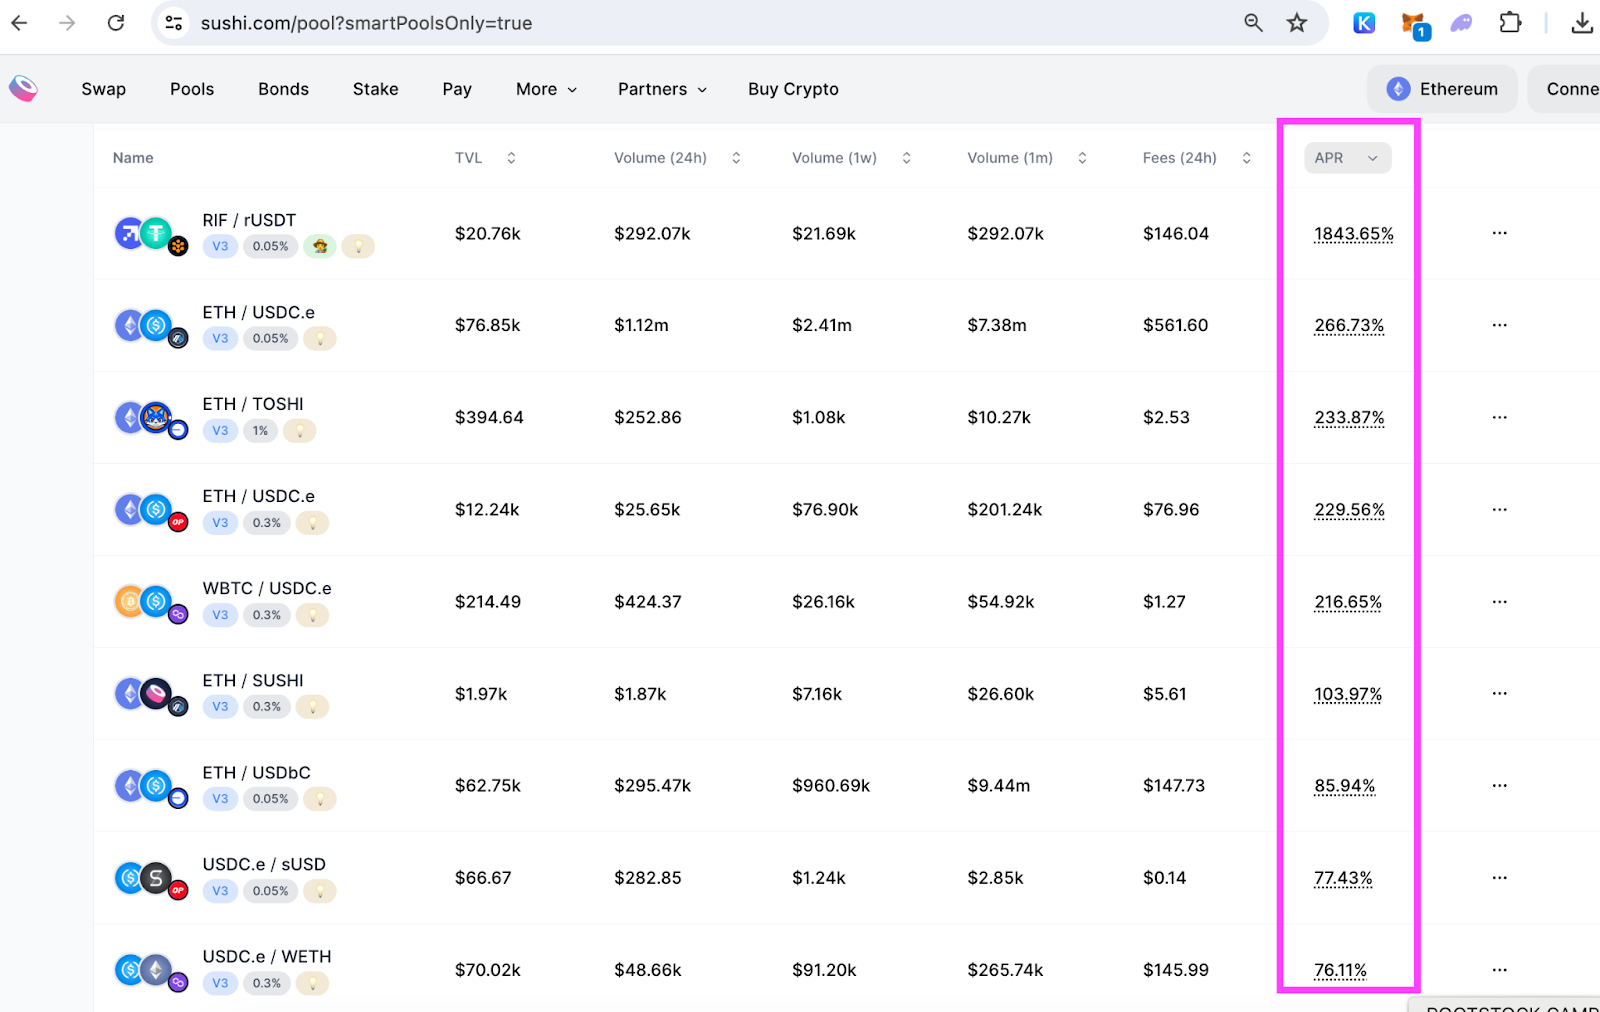
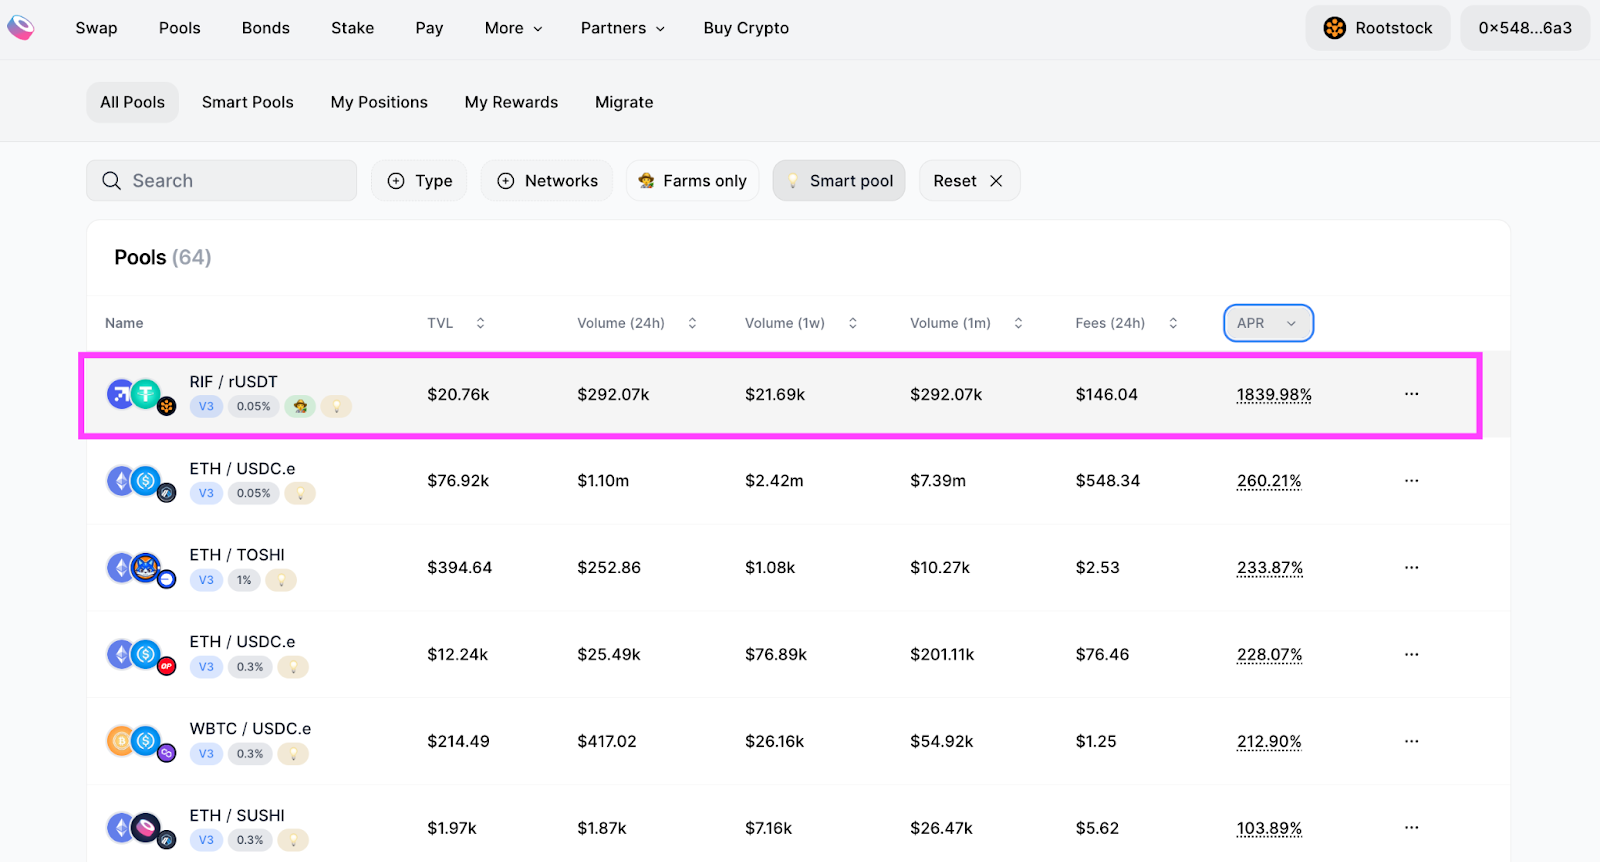
Click on "Smart Pools."
Use the filters to find a smart pool that suits your needs.
4. Connect your wallet (we're using MetaMask in this example). Click on the smart pool you wish to add liquidity to.
5. Click on “Create smart poisiton”.
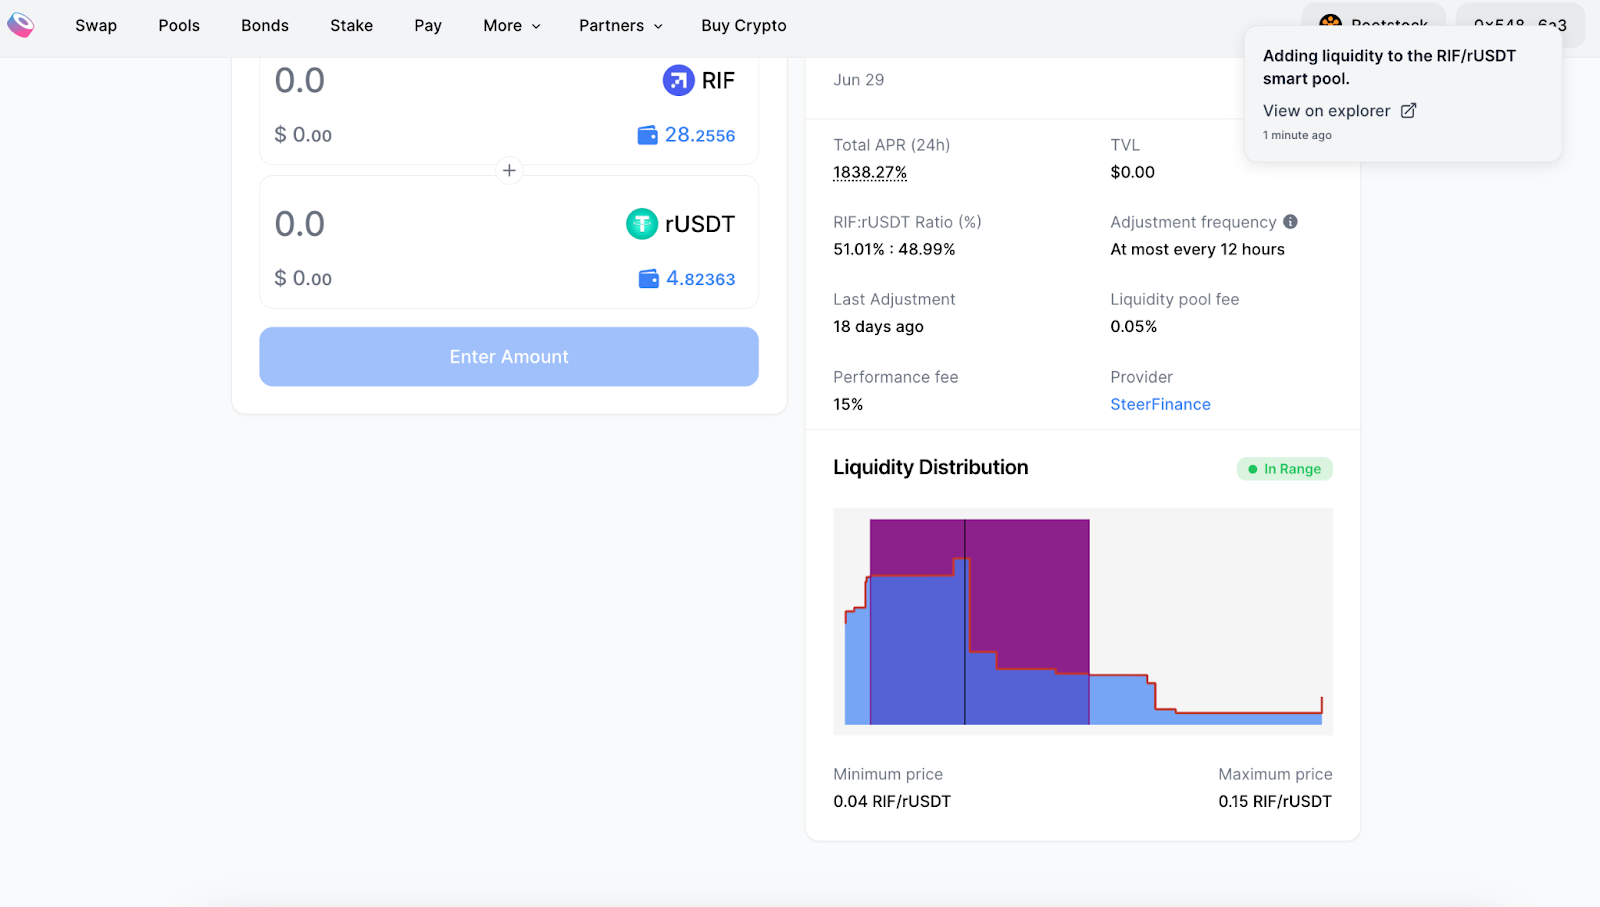
6. You will see all the available strategies. Make sure to check if the pool is in range. For detailed explanations of the strategies, refer here.
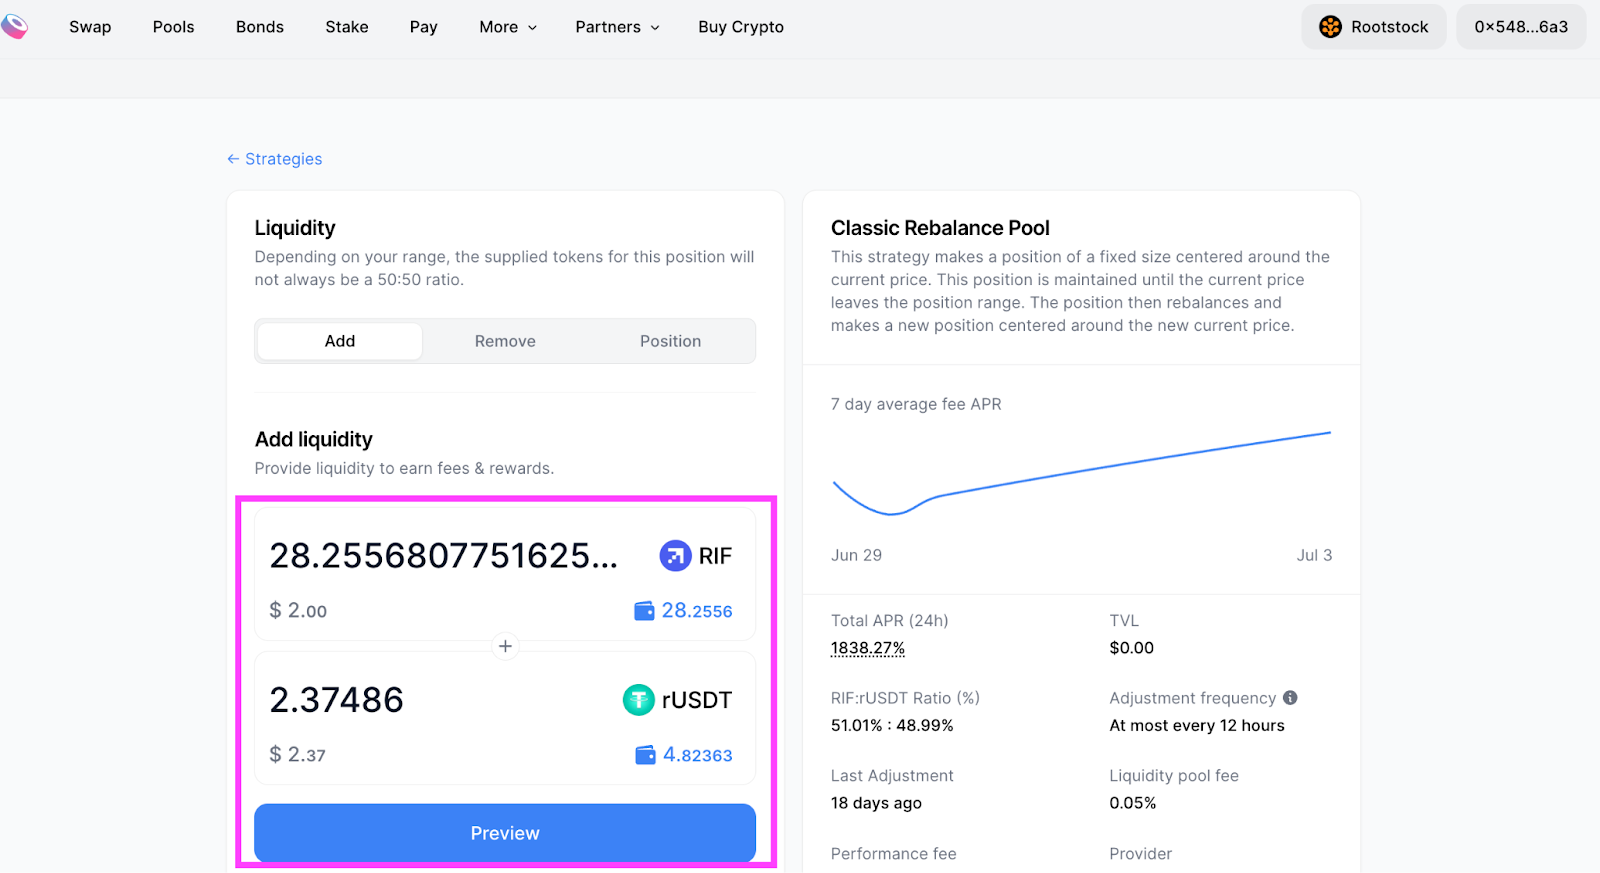
7. Now you can provide liquidity just like the regular LP process.
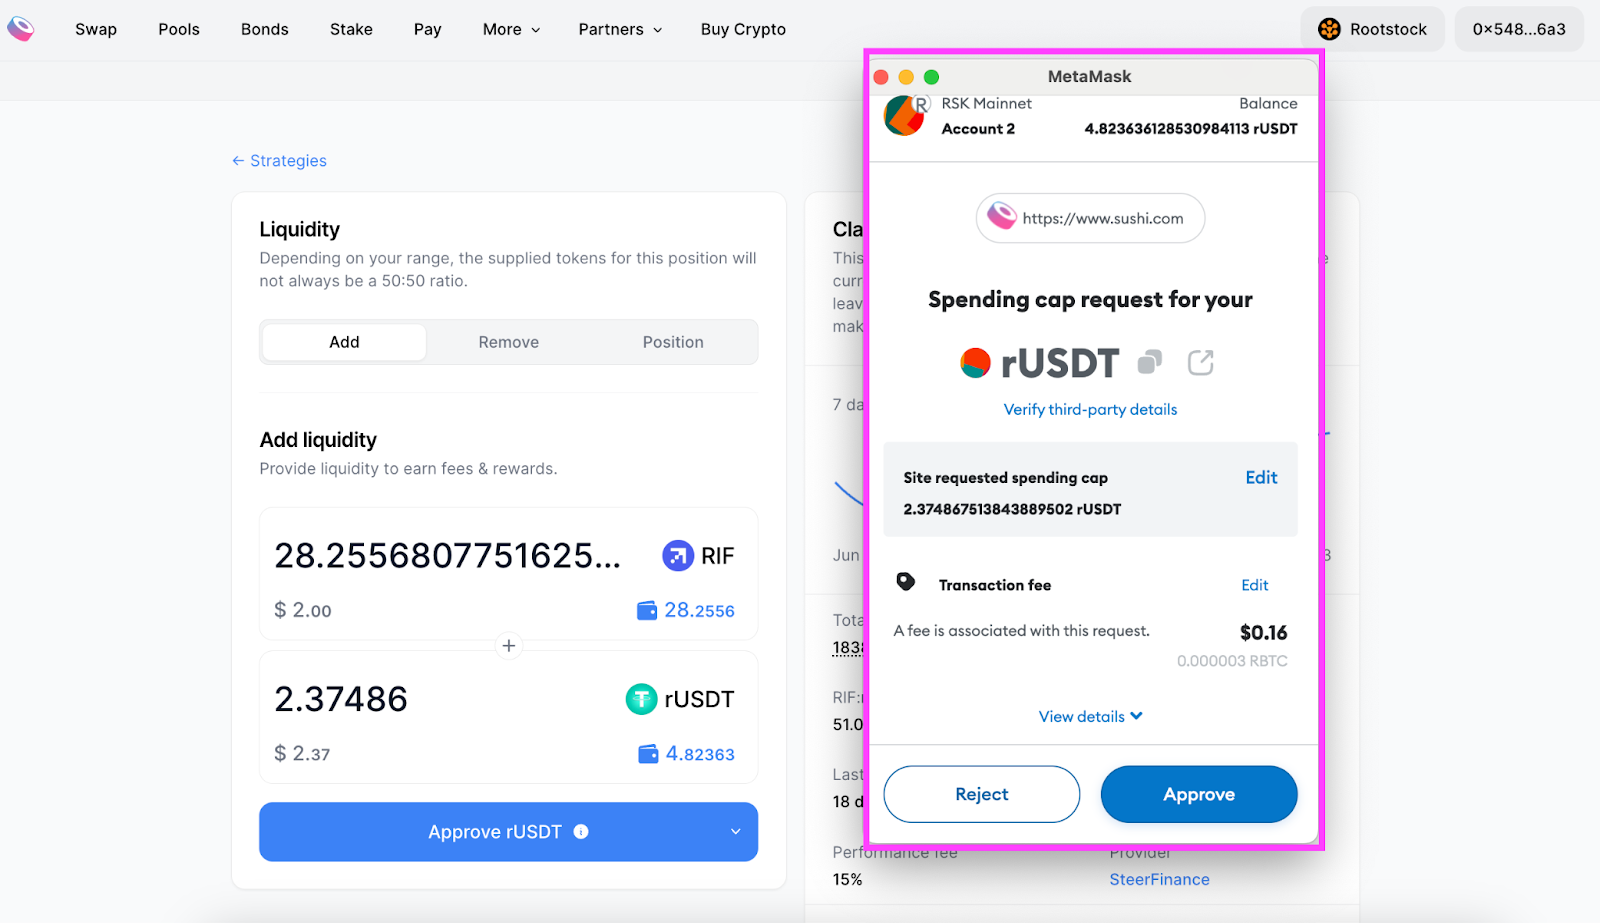
8.1 Approve both tokens
8.2 Click “Preview” to proceed
8.3 Add liquidity
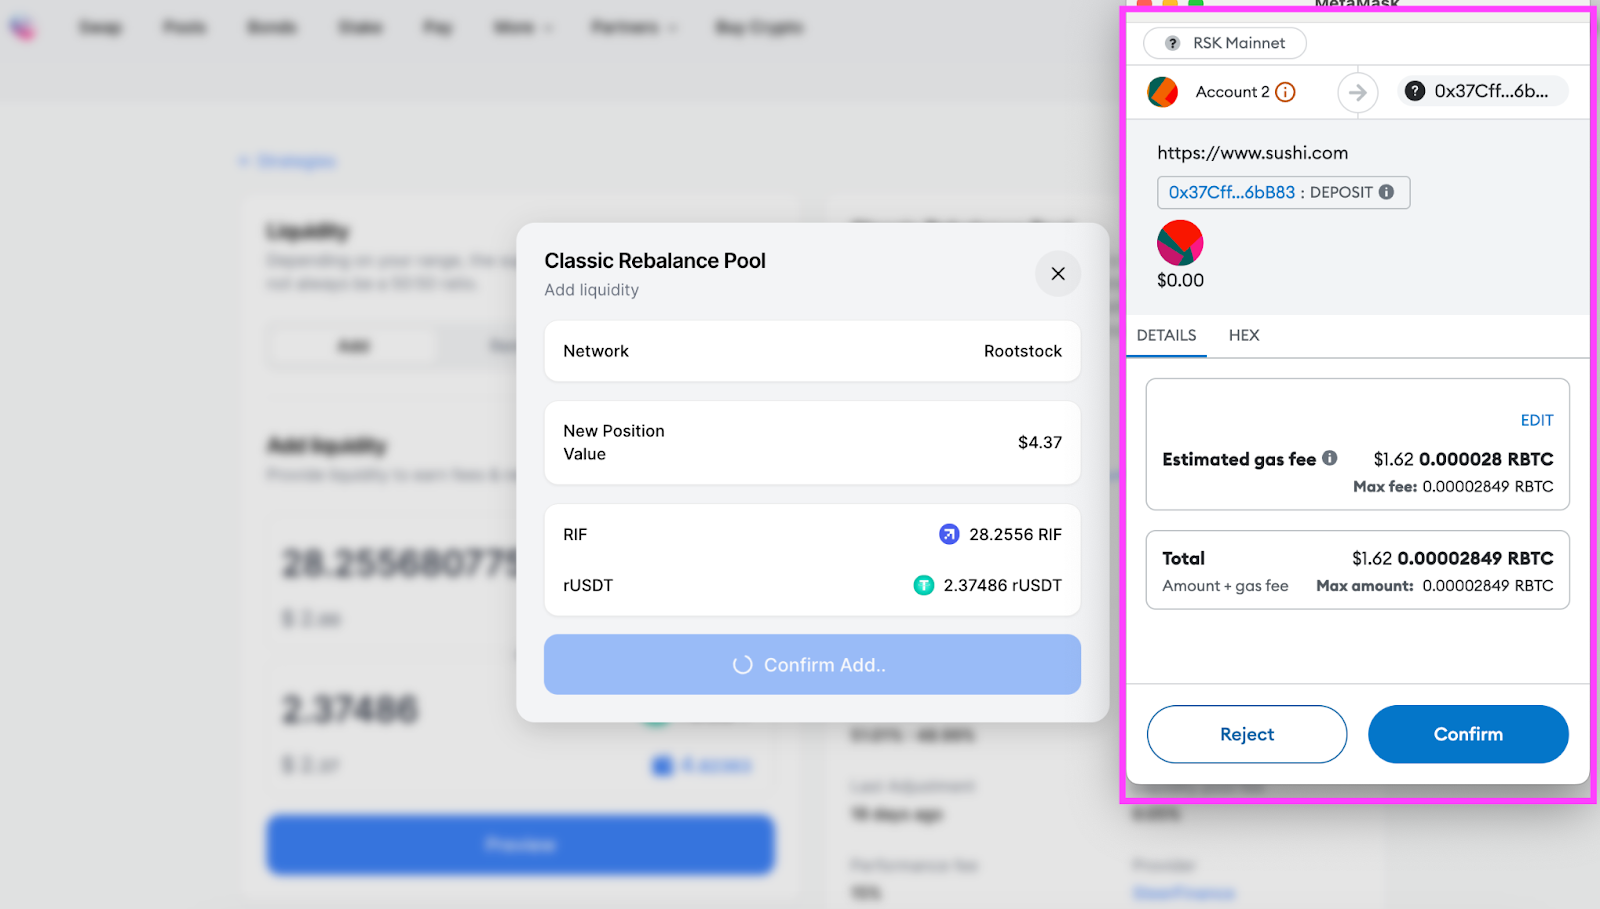
8.4 Follow metamask instructions to approve the transactions
9. Complete!
10. You can view your position under Pool -> My Position-> Smart Pool.