Sushi Bar: Tutorial
A step by step guide to Sushi Bar
- Date
- Mizu

Staking your SUSHI tokens for xSUSHI in the Sushi Bar is a straightforward process.
Check out the video tutorial below or the step-by-step guide to help you through it.
Staking your SUSHI tokens for xSUSHI in the Sushi Bar is a straightforward process.
Check out the video tutorial below or the step-by-step guide to help you through it.
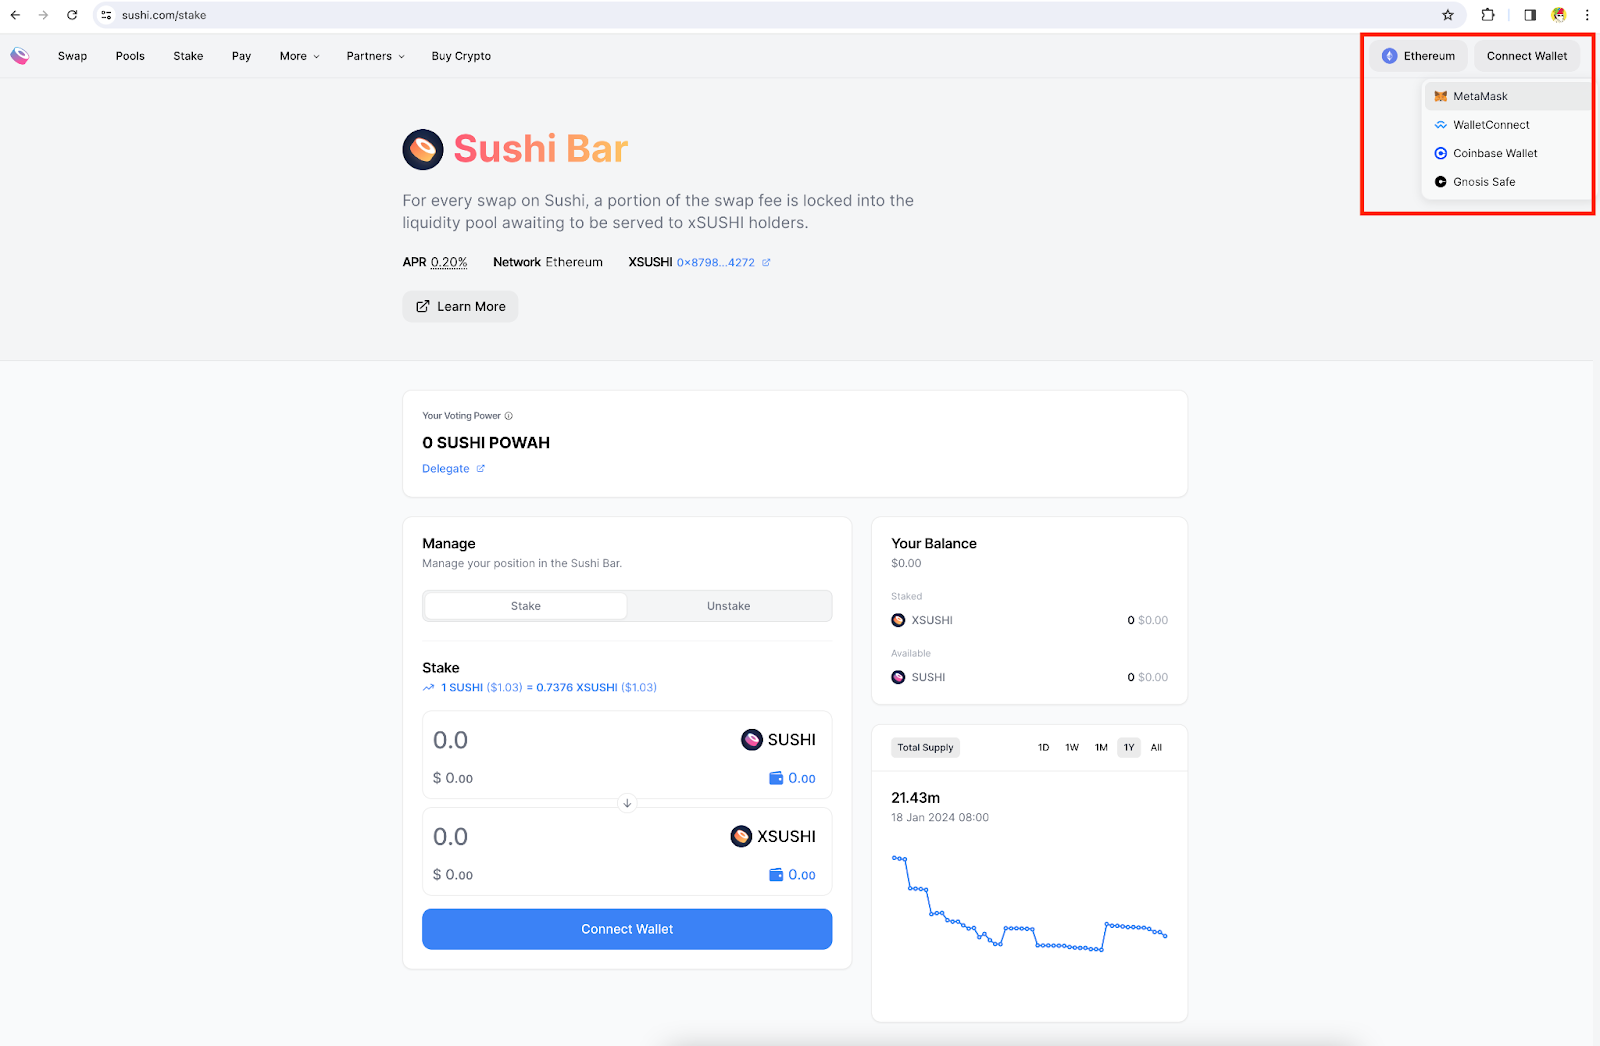
Open your web browser and navigate to the Sushi Bar Page.

Click on the "Connect Wallet" button on the page. If you are using MetaMask, select it from the list of available wallet options. Your MetaMask wallet will prompt you to confirm the connection.
Once your wallet is connected, enter the amount of SUSHI you wish to stake. You'll be able to see the current exchange rate for SUSHI to xSUSHI, which indicates how much xSUSHI you will receive for your staked SUSHI.
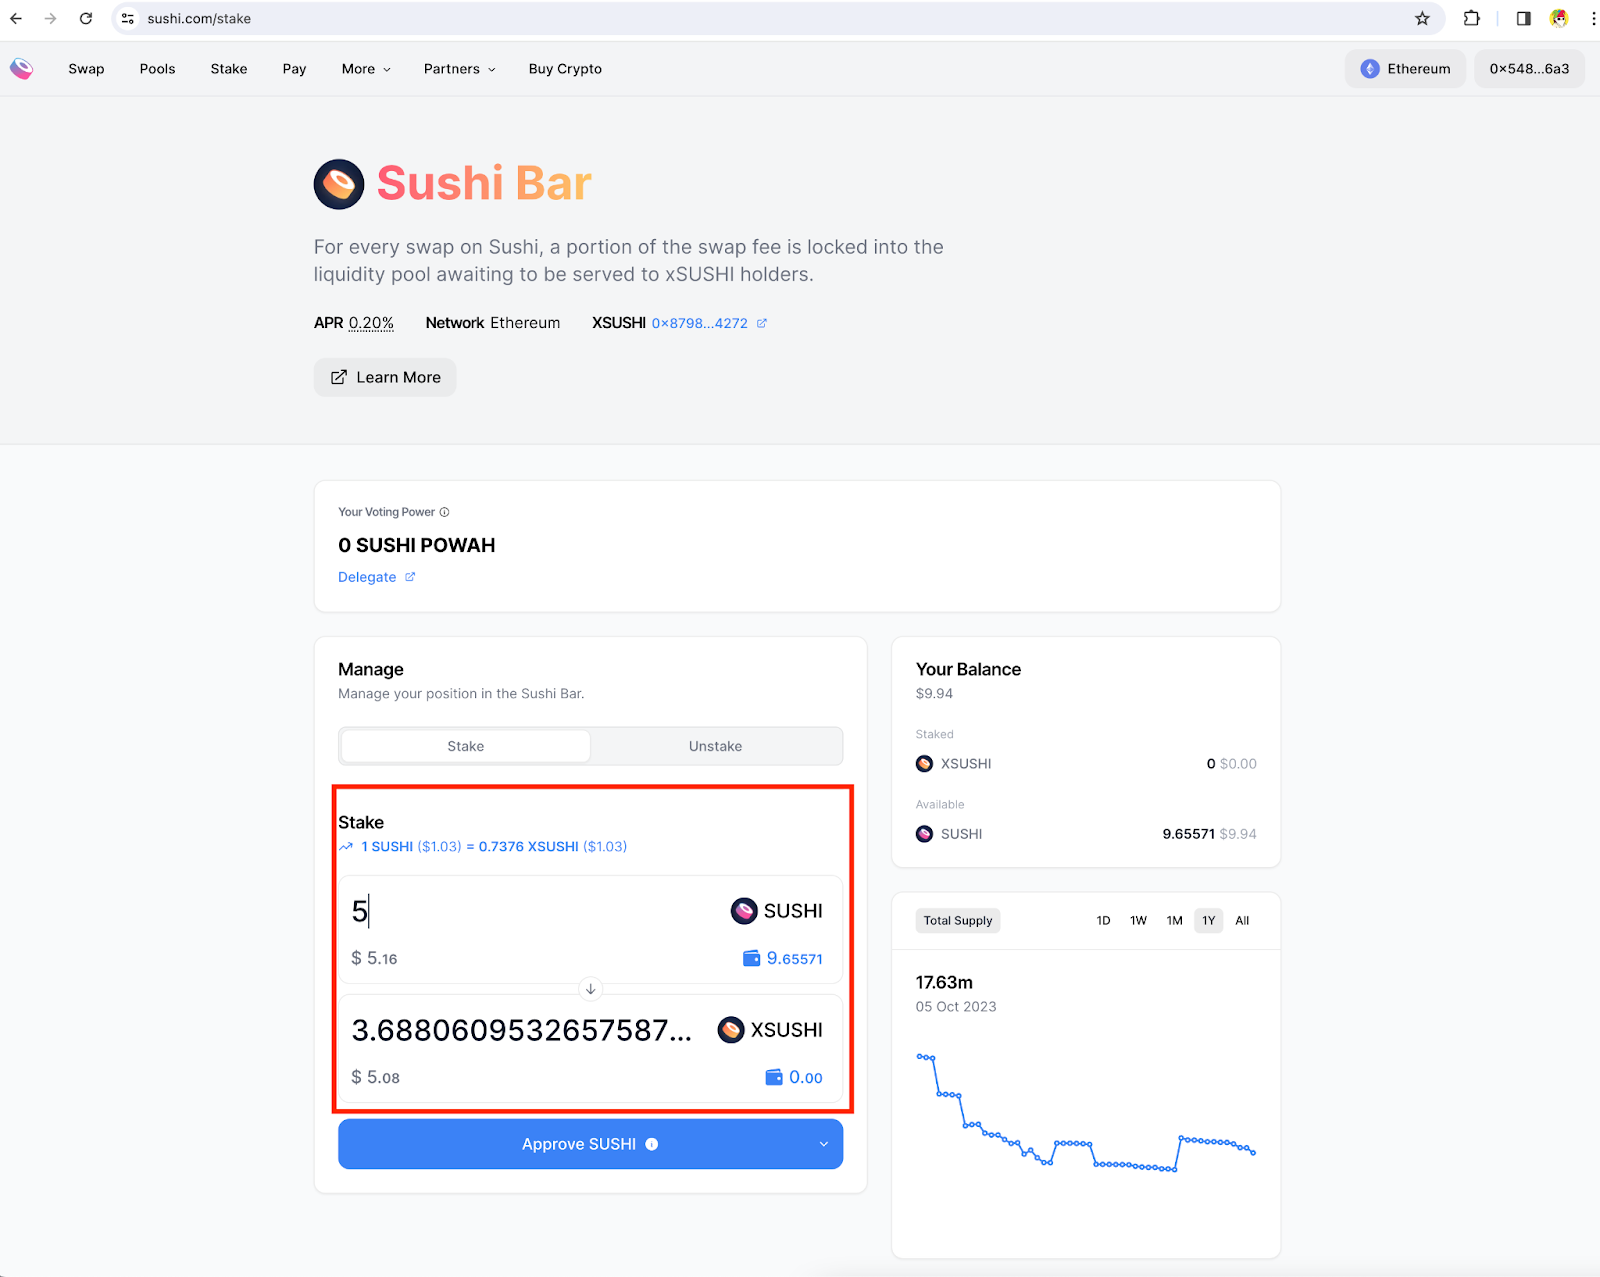
After entering the amount, you'll need to approve the transaction in your MetaMask wallet. This usually involves a confirmation popup from MetaMask, where you'll see the details of the transaction and be asked to confirm it.
Click on the "Stake" button on the Sushi Bar page. Another confirmation will be required on MetaMask. This is the final step where your SUSHI gets locked in and converted into xSUSHI.

Once the transaction is confirmed on the blockchain, you're all set! Your xSUSHI balance, representing your staked SUSHI, will be visible on the same page. This balance is your share in the Sushi Bar and is eligible for rewards from the platform's trading fees.
Your will also find your SushiPowah on the UI (which might take a little longer to appear) which represent your voting power in the Sushi governance.

Remember to keep an eye on your staking from time to time, and enjoy participating in the Sushi Bar!
For more information, please feel free to visit the FAQ, or reach out on Discord or Twitter. Start staking on Sushi Bar now.