

Welcome to Sushi V3, where you can strategically deploy your capital using concentrated liquidity. It has been a year since we launched V3! Due to numerous inquiries, we are updating this guide to answer some common questions. This guide will walk you through setting up a liquidity position on Sushi V3 from scratch, detailing how to create a new pool or add to an existing one using the ETH and USDC token pair.
Step 1: Initiating Your Liquidity Provision
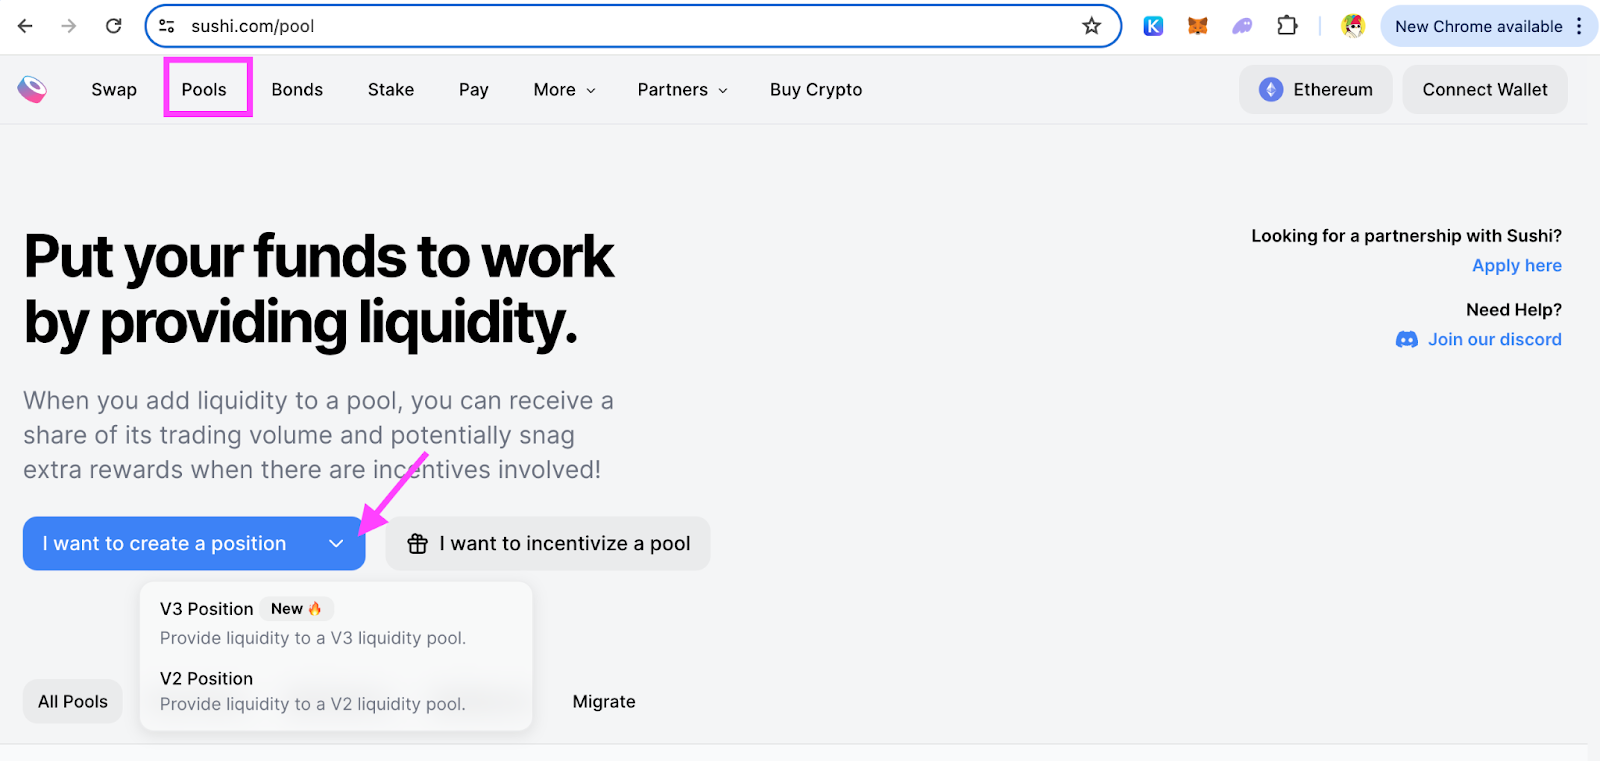
- Navigate to the Pool Page: Start by visiting the pool page on the Sushi V3 platform.
- Create a Position: Click on the "I want to create a position" button. This will open a dropdown menu.
- Select Version: Choose "V3" from the dropdown menu to take advantage of Sushi V3’s concentrated liquidity features.
Step 2: Create a New Pool or Join an Existing Pool
- Add Liquidity: Decide whether to create a new liquidity pool or join an existing one. If you're providing liquidity for a pair that doesn't have a pool yet, you'll create a new pool.
Step 3: Network Selection

- Select the Network: For this example, Ethereum network is chosen to provide liquidity.
Step 4: Choosing Your Tokens
- Select Your Tokens: For this example, you will use the ETH and USDC tokens. Ensure you have both tokens available in your wallet.

Step 5: Fee Tier Selection
- Choose a Fee Tier: Select a fee tier that matches the expected market activity and volatility of your chosen token pair:
- 0.01% Fees: Optimal for very stable pairs.
- 0.05% Fees: Suitable for less volatile pairs.
- 0.3% Fees: Recommended for most pairs.
- 1% Fees: Best for highly volatile token pairs.
Which % do I choose? Lower fees lead to higher trade volumes as they reduce trading costs, resulting in more frequent but smaller fee revenues per transaction. On the other hand, higher fees can increase earnings per trade, offsetting the risks of volatile markets, but may reduce trade frequency due to the increased cost for traders.

You would typically choose a lower fee tier if you believe ETH is not particularly volatile. This is because less volatile assets generally see steadier prices and are less risky for traders and liquidity providers alike.
Considering that ETH typically exhibits moderate volatility compared to more niche or newer cryptocurrencies, you'll find that 32% of liquidity providers opt for a fee tier of 0.05%, while 68% choose a 0.3% fee tier for this pair, as it effectively balances moderate volatility with fee earnings.
Step 6: Setting Your Price Range
In this crucial step, you will determine the price range within which you expect the ETH/USDC price to fluctuate. Setting this range effectively is vital to ensure that your liquidity is actively earning fees and is based on a combination of historical data, market analysis, and your own risk tolerance.

- Determine Your Price Range:
- Market Analysis: Start by examining the recent price movements and market conditions for the ETH/USDC pair. Look at factors like price volatility and major events in the cryptocurrency market. For example, if ETH has been trading between 2800 to 3500 USDC over the last two weeks, use this range as a starting point to set your price boundaries. This approach helps ensure your range aligns with current market behavior and anticipated fluctuations.
- Expectations: Based on your market analysis, set realistic expectations for the price range within which you anticipate the ETH/USDC trading pair will fluctuate while you provide liquidity. For instance, if your research suggests that USDC might trade between a low of 1500 and a high of 6000 USDC, use this as your target price range.
Keep in mind that once the price moves outside this range, you will not earn any fees. Therefore, it’s crucial to balance your risk and return. A narrower range can lead to higher fee earnings, but it’s riskier because the price is more likely to exit this range. Conversely, a wider range is safer, as it accommodates more price fluctuations, but results in lower fee earnings.
- Configure and Adjust Your Price Range:
Sushi V3’s user interface offers tools to accurately set and adjust your price range. Utilize these tools to tighten or expand the bounds relative to the current market price.
a. Adjust the Price Range Slider:

- This UI element allows you to visually set and adjust your price range easily. Slide to narrow for higher capital efficiency or widen for greater coverage.
- Narrower Ranges: While these increase capital efficiency, they require you to monitor the market more closely. If the market price moves outside your selected range, your liquidity will not earn fees, potentially requiring quick adjustments.
- Wider Ranges: These provide more room for the price to fluctuate without the need for immediate adjustments but at the cost of reduced capital efficiency.
b. Specify Minimum and Maximum Prices:

- Set Precise Limits: Based on your analysis and the adjustments made using the UI tools, specify the exact minimum and maximum prices in the Sushi V3 interface. These limits define the bounds within which your liquidity will actively participate in the market and earn transaction fees.
c. Use “Full Range”, "×÷2", "×÷1.2", "×÷1.01

- "Full Range" "Full Range" refers to a liquidity provision setting where a liquidity provider (LP) offers their capital across the entire possible price spectrum of a trading pair, working just like the classic v2.
- Doubling or Halving the Range: This control allows you to either double (×2) or halve (÷2) your current price range. If you feel that the market is becoming more volatile and you want to cover a broader range of prices, you might double the range. Conversely, if the market stabilizes and you want to concentrate your liquidity for greater capital efficiency within a narrower band, you could halve the range.
- Increasing or Decreasing by 20%: This option adjusts the price range by a factor of 1.2. It offers a more moderate adjustment compared to "×÷2," providing flexibility without drastically changing the scope of your liquidity. You can use this to slightly widen or tighten the price range based on incremental changes in market conditions or your expectations of future volatility.
- Fine-Tuning by 1%: This is the tool for making very precise adjustments to your price range, either increasing or decreasing it by approximately 1%. It’s useful for fine-tuning your liquidity position to maximize efficiency based on very slight shifts in market conditions or when you're closely tracking specific price movements.
By strategically setting and managing your price range, you can optimize the effectiveness of your liquidity provision on Sushi V3. This tailored approach not only enhances potential earnings but also aligns with your overall investment strategy and risk management preferences.
Step 7: Reviewing Capital Efficiency and APR
- Capital Efficiency: The efficiency is indicated as 3.41x, suggesting how effectively your capital is utilized within the selected price range.
- APR Calculation: The APR, based on being in-range excluding impermanent loss (IL), is calculated as 0.01% * 3.41 = 0.02%.

Step 8: Confirming Liquidity Provision
- Confirm and Add Liquidity: After setting up your price range and reviewing all parameters, proceed to add your liquidity. This involves allocating ETH and SUSHI in a ratio of 50% ETH to 50% SUSHI for this example.
- Input the amount you like to LP for both tokens
- Approve both tokens and follow the instructions on Metamask to confirm providing liquidity as below:


Congrats! You should have successfully created a V3 LP position now!
Step 9: Monitoring and Adjusting Your Position
- Stay Informed: Regularly check the market conditions and adjust your liquidity range as necessary to ensure you remain within the fee-earning range under “My Positions”

- Monitor Your Position: Use integration tools like Poolfish.xyz to keep track of your position and potential earnings. You can access detailed analytics and simulations for your liquidity position by visiting Poolfish.xyz.
- Active Management: Given the dynamic nature of DeFi markets, proactive management of your liquidity is essential for maximizing returns and minimizing risks. If your position falls out of the designated range, consider removing your liquidity and re-adding it within a new range to optimize performance.
- Smart Pools: Providing liquidity on V3 concentrated liquidity can precisely deploy your capital to maximize potential returns through targeted fee earnings. This approach demands a more proactive management style but rewards those who actively participate in the market. To facilitate easier management with enhanced returns, we've introduced Smart Pools—a liquidity manager designed to streamline your V3 positions. Explore this new feature!
Check out the Smart Pools Blog, Explainer & FAQ for more information.
Closing
We hope this guide has been helpful in navigating your liquidity management on Sushi V3! Should you have any questions, feel free to contact us on Discord anytime!


